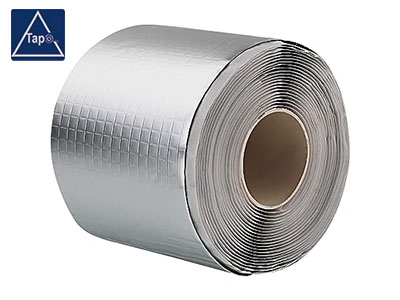
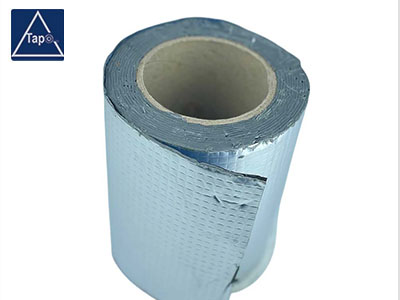
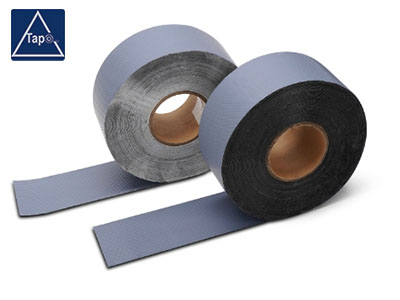
Lead-free waterproofing is a modern environmentally friendly roofing material. Due to its non-toxic, pollution-free and durable characteristics, it has gradually replaced traditional lead waterproofing and become the preferred material in building waterproofing projects. This article will comprehensively introduce how to install lead free flashings on the roof, from preliminary preparation to installation steps, to solutions and precautions for common problems, Toptape will provide you with detailed guidance.

1. Basic Overview of Lead-Free Waterproofing
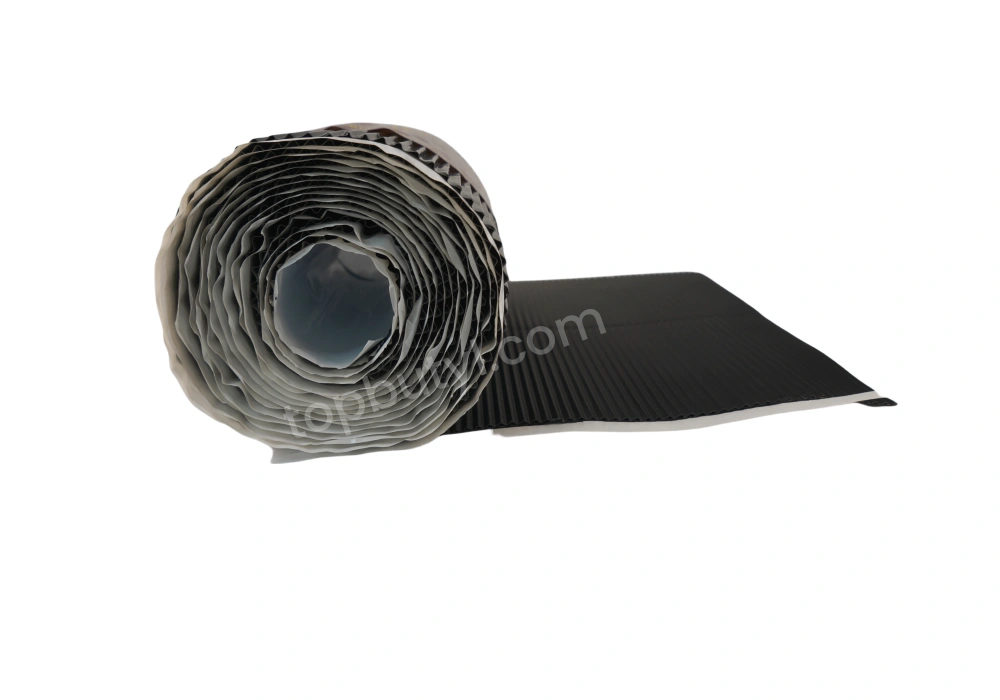
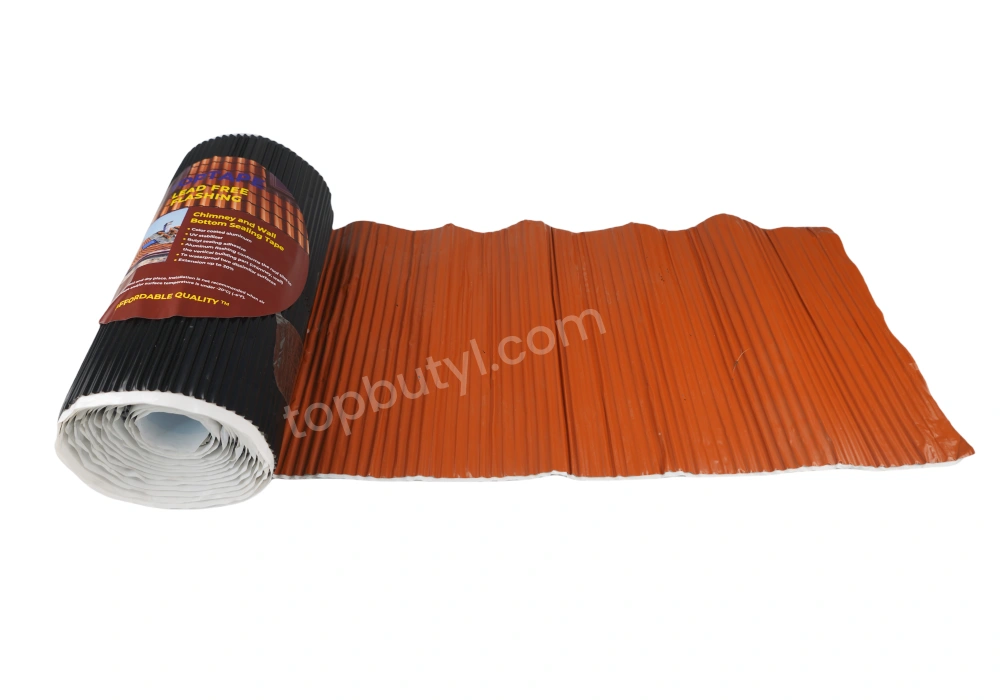
Lead-free waterproofing is a material designed with environmental protection as the core. It is mainly made of aluminum alloy, stainless steel or flexible polymer composite materials and has excellent waterproof, weather resistance and corrosion resistance. It is widely used and suitable for various types of roofing projects such as residential, industrial plants, and commercial buildings.
1.1 Advantages of lead-free waterproofing
- Environmental and healthy: It does not contain harmful metal lead, which eliminates the pollution risk of traditional materials to the environment and human body.
- Strong durability: The material is resistant to high temperature and UV rays, and its service life can reach more than 20 years.
- Easy to install: Compared with traditional lead waterproofing, lead-free waterproofing is lighter and the construction process is more efficient.
- Diversity: Lead-free waterproof boards can be customized in size, shape and color according to different needs to meet the needs of various architectural styles.
1.2 Applicable scenarios
- Roof waterproofing: used to solve the waterproofing problems of roof cracks and joints.
- Chimney base: waterproof seal the contact between the chimney and the roof.
- Skylight perimeter: provide reliable waterproof protection for the edge of the skylight.
- Pipe interface: used for sealing the joints of drain pipes, ventilation ducts, etc.
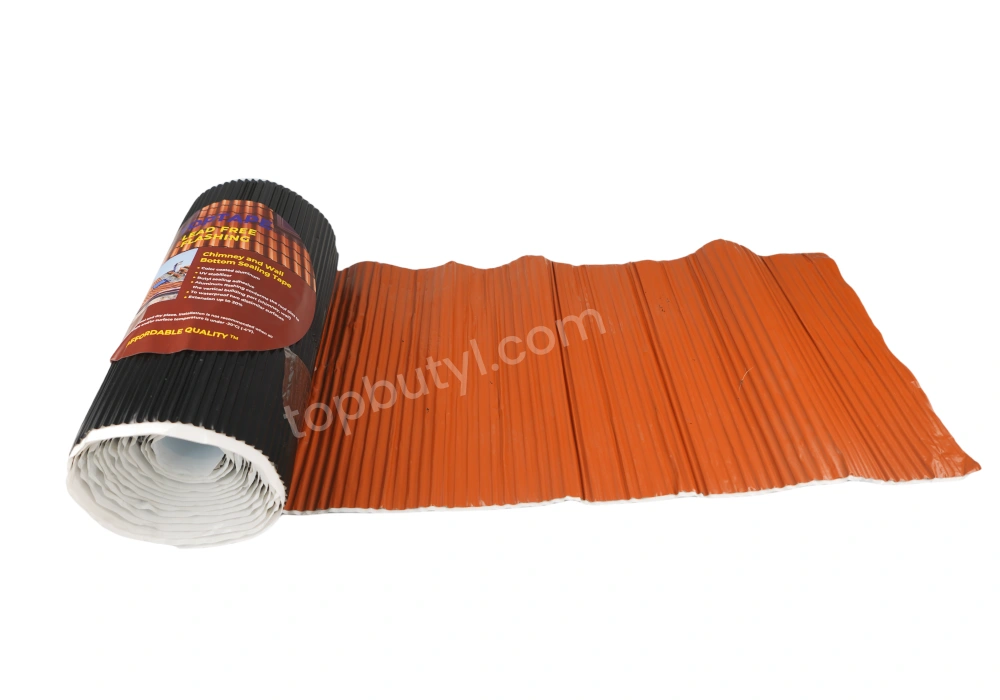
2. Preparation for installing lead-free waterproof boards
To ensure the smooth installation process, sufficient preliminary preparation is particularly important. The following are the specific preparation steps:
2.1 Choose the right lead-free waterproof board
The materials and specifications of lead-free waterproof boards are varied. When installing, choose the right product based on the following factors:
- Roof type: It is recommended to choose flexible materials for sloping roofs, while harder aluminum alloy waterproof boards can be used for flat roofs.
- Climate conditions: Thicker and more water-resistant materials can be selected in rainy areas, and heat resistance and UV resistance should be emphasized in high-temperature areas.
- Budget range: Choose the right brand and model according to the project budget.
2.2 Prepare construction tools
The following tools are required during the installation process:
- Measuring tools: tape measure, ruler, level, for precise measurement of dimensions.
- Cutting tools: metal scissors, cutter, for cutting waterproofing sheets.
- Fixing tools: nail gun, electric drill, screws, for fixing waterproofing sheets on the roof.
- Sealing tools: sealant gun, waterproof tape, for strengthening the sealing of joints.
- Safety equipment: safety rope, hard hat, non-slip shoes, to ensure construction safety.
2.3 Check the roof condition
Before installation, the roof should be thoroughly inspected to ensure that it can bear the waterproofing sheets and meet the following conditions:
- Surface cleaning: remove dust, leaves and other debris.
- Structurally stable: Check for cracks, corrosion or damaged parts, and repair them if necessary.
- Dry state: Make sure the roof is dry before construction to enhance the adhesion of the waterproofing sheets.
3. Installation process of lead-free waterproofing sheets
The installation of lead-free waterproofing sheets requires strict follow-up of the steps to ensure the construction quality and the waterproof performance of the roof.
3.1 Measurement and cutting
- Measure the size: Use a tape measure to measure the area to be covered and record the size of each waterproof board.
- Mark the cutting area: Mark the lines to be cut on the waterproof board and reserve 3-5 cm installation margin for each board.
- Cut the waterproof board: Use metal scissors or a cutter to cut the board and ensure that the edges are flat.
3.2 Positioning and fixing
- Position the waterproof board: Place the cut waterproof board in the area to be covered and ensure that it is in close contact with the roof.
- Preliminary fixing: Use a nail gun or screws to initially fix the waterproof board on the roof, and make a fixing point every 20-30 cm.
- Adjust the position: Make sure that the waterproof board fits tightly with the surrounding building structure. If there is any unevenness, it can be solved by adjusting the fixing point.
3.3 Joint treatment
- Seal the joints: Apply special waterproof sealant to the joints of the waterproof board to cover all possible places where water may seep.
- Strengthen the seal: For areas with many joints or prone to rain erosion, it is recommended to use waterproof tape for further reinforcement.
3.4 Edge treatment
- Fold the edge: fold the edge of the waterproof sheet under the edge of the roof to prevent rain from seeping in.
- Fix the edge: fix the edge firmly with screws or nail guns to prevent strong winds from lifting the waterproof sheet.
3.5 Final inspection
- Check the firmness: make sure all screw and nail gun fixing points are firm and not loose.
- Test the waterproof effect: spray water on the roof with a water pipe to check for leaks.
4. Common problems and solutions
During the installation of lead-free waterproof sheets, the following problems may be encountered. Understanding these problems and their solutions will help improve construction efficiency and effectiveness:
4.1 Leakage in the joints
- Reason: uneven application of sealant or too thin glue layer.
- Solution: re-clean the joints and evenly apply a thick layer of sealant.
4.2 Warping of waterproof sheets
- Reason: insufficient fixing points or too thin sheet.
- Solution: increase screw fixing points and replace thicker waterproof sheets if necessary.
4.3 Material damage
- Reason: uneven force during cutting or improper construction tools.
- Solution: Use professional cutting tools and keep steady force when cutting.
4.4 Installation deviation
- Reason: Inaccurate measurement or wrong cutting.
- Solution: Remeasure and cut to ensure that the size matches the installation location.
5. Maintenance and care
After installation, regular inspection and maintenance of the lead-free waterproof board can extend its service life and maintain good waterproof effect.
5.1 Regular cleaning
Remove leaves, dust and debris from the roof to avoid long-term compression or corrosion of the waterproof board.
5.2 Check the fixing points
Check the screw or nail gun fixing points for looseness once a year and reinforce them if necessary.
5.3 Repair damage
If scratches or cracks are found on the surface of the waterproof board, special repair materials can be used to fill them.

6. Summary
The installation of lead-free waterproof board is a patient and meticulous job. From preparation to installation to maintenance, every step cannot be ignored. Through the detailed guidance of this article, you can master the key technologies for installing lead-free waterproof board, provide reliable waterproof protection for buildings, and respond to environmental protection needs.
If you have further questions or require professional assistance, it is recommended that you contact your building material supplier or construction expert from Shanghai Toptape to ensure the best possible installation.

