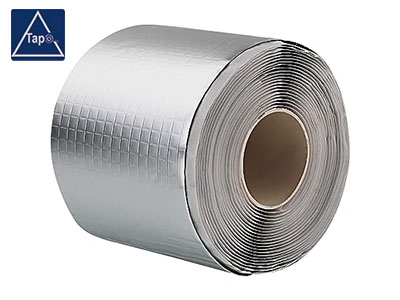
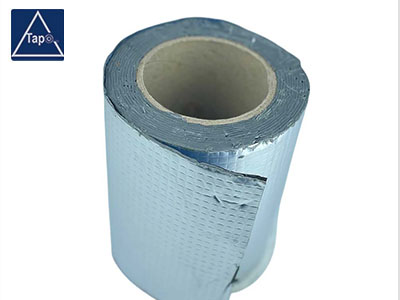
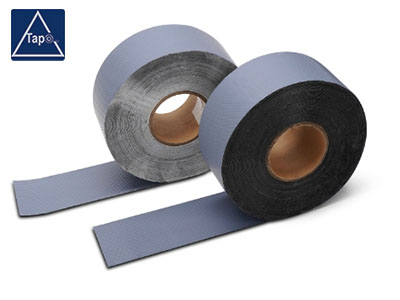
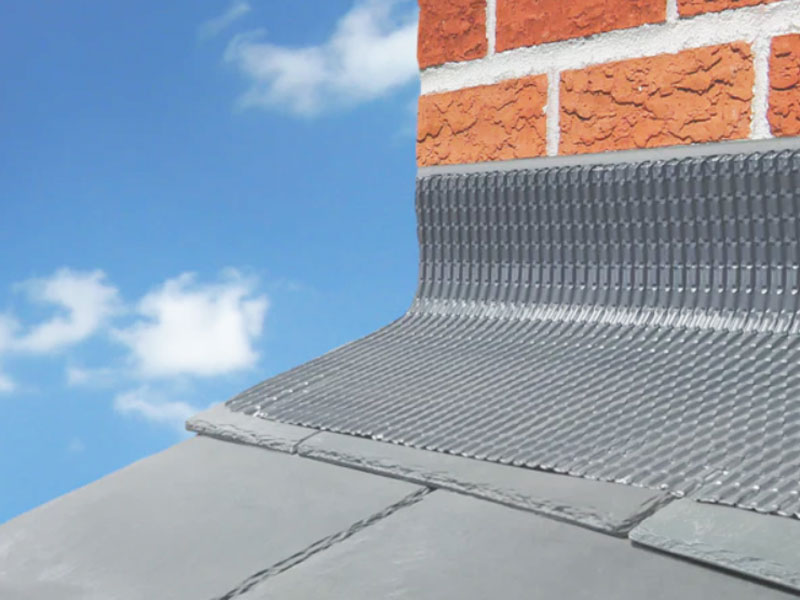
Lead-free flashing is a waterproof material widely used in modern construction, and is often used in places such as roofs, window frames, wall joints, and around chimneys. Compared with traditional lead flashing, lead-free flashing does not contain lead components and has higher environmental protection and safety, so it is becoming more and more popular in modern buildings. Lead-free flashing is usually made of copper, aluminum, stainless steel, synthetic rubber and other materials, and has excellent waterproof, weather resistance and corrosion resistance. This article will introduce how to apply lead free flashing, steps and precautions of lead-free flashing in detail to help construction workers complete the installation work correctly and efficiently.
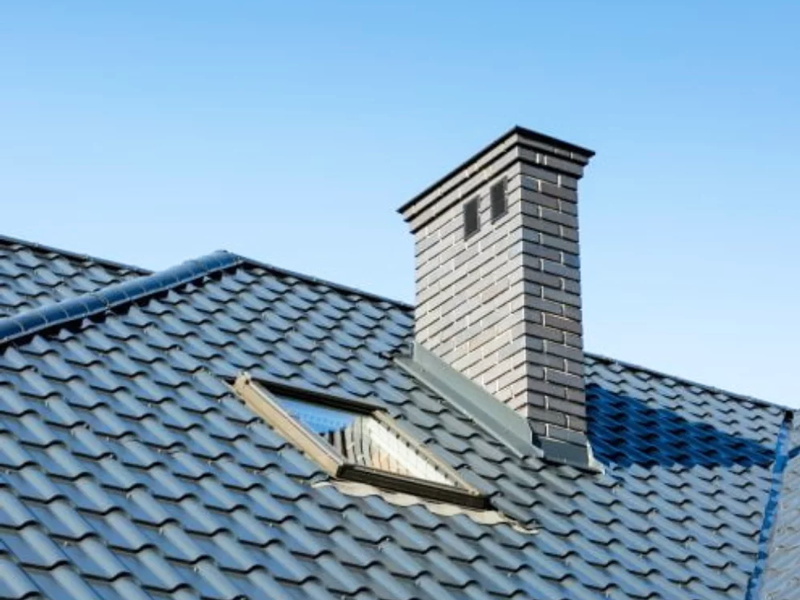
1. The role of lead-free flashing
The main function of lead-free flashing is to prevent moisture from entering the room through the joints of the building. It is usually installed in the joints of roofs, walls and windows, which can effectively guide water to drain from the surface of the building, prevent water from penetrating into the room, and avoid moisture, mildew and damage to the structure. Lead-free flashing has multiple functions such as waterproof, anti-corrosion and wind resistance, and is particularly suitable for use in areas with humid or rainy environments.
2. Types and materials of lead-free flashing
Lead-free flash can be made of a variety of materials, common materials are:
- Copper flashing: strong durability, suitable for high-end buildings, with good corrosion resistance and weather resistance.
- Aluminum flashing: light, easy to process, suitable for residential and commercial buildings, low cost, and strong waterproof effect.
- Stainless steel flashing: strong corrosion resistance, suitable for industrial buildings and special environments, especially at the seaside or in chemically corrosive environments.
- Synthetic rubber flashing: strong elasticity and good wear resistance, suitable for roof joints and wall junctions.
- Polymer flashing: made of polymer materials, with strong UV resistance and weather resistance, suitable for modern buildings.
Different types of lead-free flashing materials have different performance characteristics, and construction personnel should choose the appropriate material according to the specific project requirements.

3. Installation steps of lead-free flashing
Measurement and planning
Before starting the installation, you first need to accurately measure the area where the lead-free flash needs to be installed. Common installation locations include the junction of the roof ridge and tiles, the junction of the wall and window frame, and around the chimney. Cut the lead-free flash strips according to the measured size. When cutting, make sure the size of the lead strip is consistent with the width of the joint and leave an appropriate margin to ensure that the joint is fully covered to avoid water leakage.
Prepare the installation surface
Before installing the lead-free flashing, be sure to clean the installation surface to ensure that the surface is clean, dry, and free of dust, debris or oil. If there is old flashing strips or residual waterproofing materials on the surface, they should be removed to ensure that the new flashing strips can be tightly combined with the surface to achieve the best waterproof effect.
Installing lead-free flashing
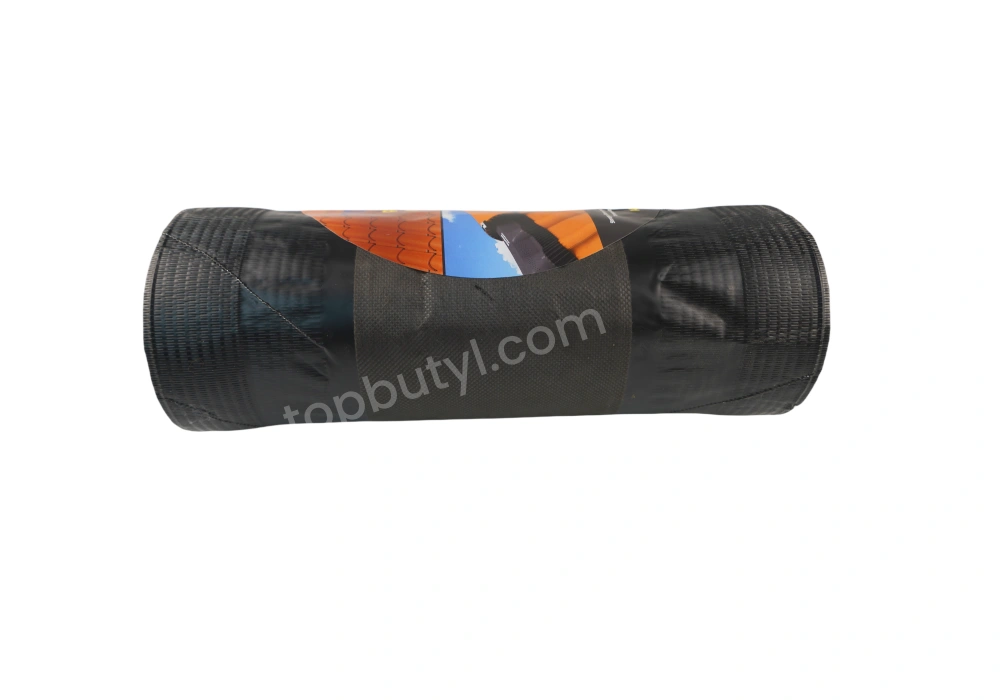
Align the cut lead-free flashing strips with the joint position to ensure that the flashing strips fit well with the joints. If necessary, you can use a rubber hammer to gently tap the lead-free flashing strips to make it fit completely on the surface. Pay attention to the curvature of the flashing strips during installation to avoid excessive bending to avoid damage to the material.
Next, fix the lead-free flashing strips to the surface with nails or special aluminum nails. The nails should be evenly distributed and spaced approximately 15-20 cm apart. Be careful not to use too much force when fixing to prevent damage to the lead-free flashing strips, and the nails should leave appropriate gaps to fasten the materials more firmly.
Sealing the joints
After installation, apply waterproof sealant to the joints of the lead-free flashing strips. Waterproof sealant can enhance the waterproof effect and prevent moisture from penetrating through the joints. The sealant should be applied evenly to ensure that each joint is effectively sealed. Especially at the corners and joints, apply enough sealant to prevent water leakage.
Finishing and inspection
After installation, check the installation of the lead-free flashing to ensure that each joint fits tightly and there are no gaps or loose places. If any problems are found, they should be repaired in time. Especially the application part of the sealant, make sure it is fully covered to avoid the hidden danger of water leakage.
4. Precautions in the installation of lead-free flashing
Choose the right material
Different environments and building types require the selection of suitable lead-free flashing materials. For example, in buildings near the sea, stainless steel or copper flashing materials may need to be selected to resist salt spray corrosion; while in general residential buildings, aluminum or synthetic rubber flashing may be more cost-effective.
Avoid excessive bending
Although lead-free flashing strips have a certain degree of flexibility, excessive bending should still be avoided during installation. Excessive bending may cause the flashing strip to break or deform, which will affect its waterproofing effect.
Pay attention to weather conditions during installation
It is best to install lead-free flashing in dry and warm weather conditions. Installation in rainy or humid environments may cause the sealant to not fully cure, thus affecting the waterproofing effect.
Regular inspection and maintenance
After the lead-free flashing is installed, it is recommended to check its status regularly, especially after strong winds or heavy rains. Check whether the joints and sealing parts are aging, loose or damaged. Repair or replace them in time to ensure the long-term effectiveness of the waterproofing effect.
Do a good job of protection
During the installation process, construction workers should wear appropriate personal protective equipment, such as gloves and safety glasses, to avoid cuts or injuries. In addition, care should be taken to prevent lead-free flashing materials from contaminating other building surfaces, especially aluminum and stainless steel materials, to avoid corrosion due to contact with chemicals.
5. Summary
As an environmentally friendly and safe waterproof material, lead-free flashing is widely used in modern buildings. It can not only effectively prevent water leakage, but also reduce the impact on the environment, adapting to the needs of contemporary buildings for green and environmental protection. When installing lead-free flashing, construction workers should follow the standard steps, select suitable materials, and ensure that every link in the installation process is carefully handled to ensure its waterproof effect. Through regular inspection and maintenance, lead-free flashing can provide long-term protection for buildings and effectively extend the service life of buildings.

